Note
The Entry Level includes two default labels. If you need other labels, please contact us for a quote. Both Basic and Advanced allow you to define as many labels as required.
Defining Your Barcode Labels
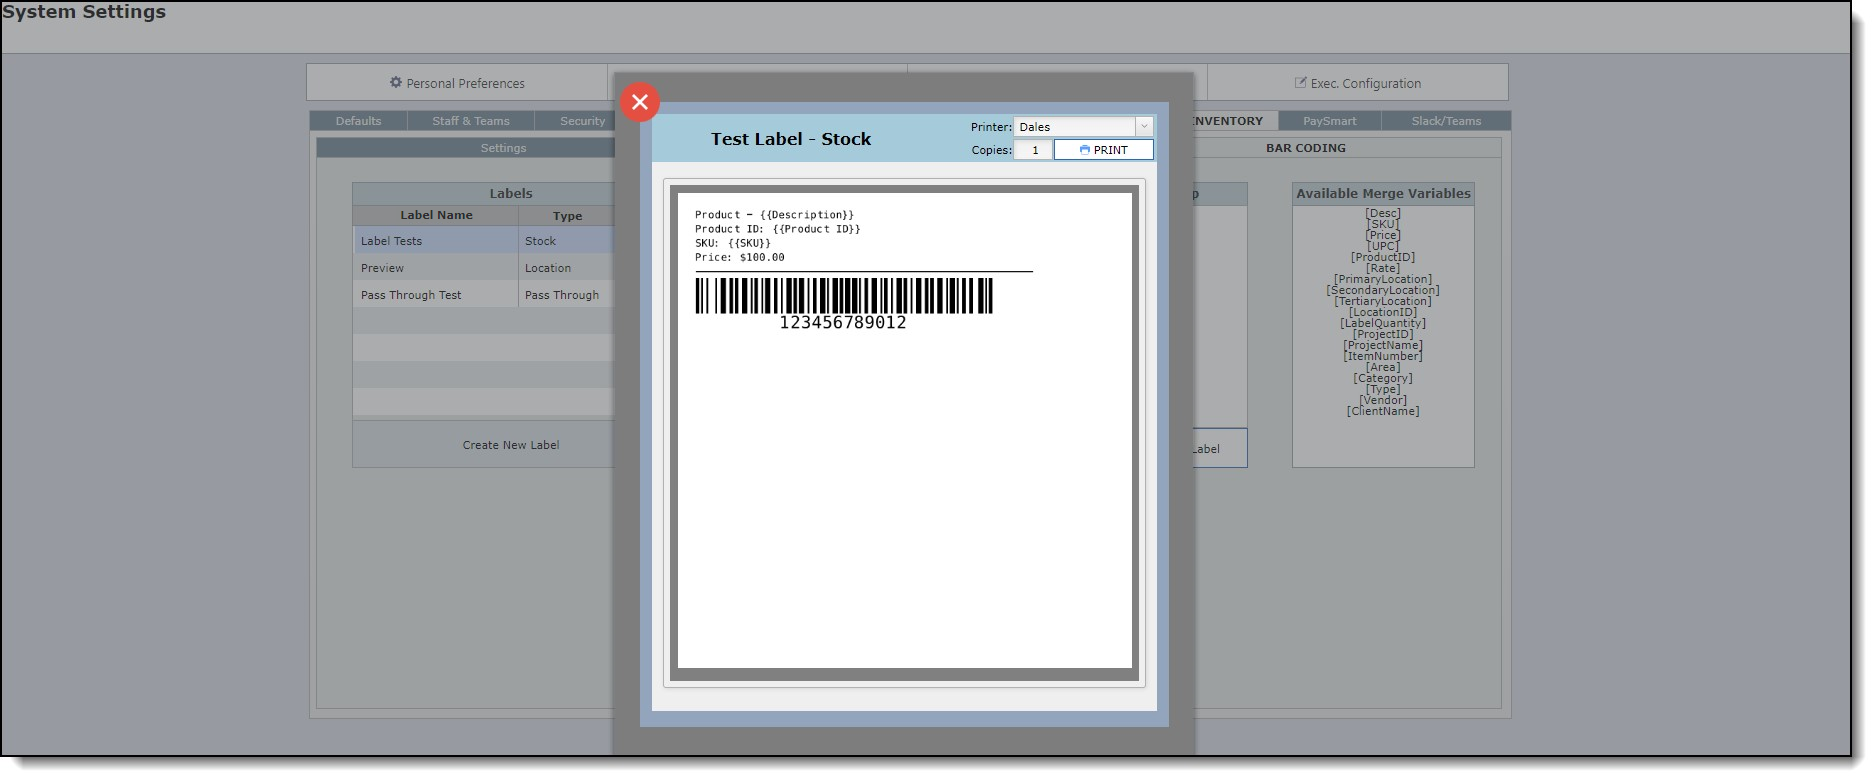
One of your first steps to start printing labels will be to define the labels you will be printing.. You can do this by going to your System Settings > Inventory > Bar Coding.
1.Click "Create New Label".
2.Label Name - Enter the name that will identify this label. Examples, "Warehouse", "Showroom".
3.Label Type - You will need to select from one of three options: Pass Through, Stock, or Location.
4.Next UPC - You can ignore this field unless instructed otherwise.
5.Label Format - The code that goes into this field is the ZPL code which is complicated. You are not expected to know how to enter this code. The Smart Designer technical support staff will assist you with this. What is important for you to do is to define the size and what information goes on each label and provide that information to your DIS support person. (If you are interested in learning how to do the coding for the label, you can read this article ZPL Programming Guide and practice developing your own label format here.)

6. Label Setup - This field is optional. You can use it when you would like to leave something specific about printing labels.
7. Merge Variables - this is a of fields that are available for any barcode label.

Testing Labels


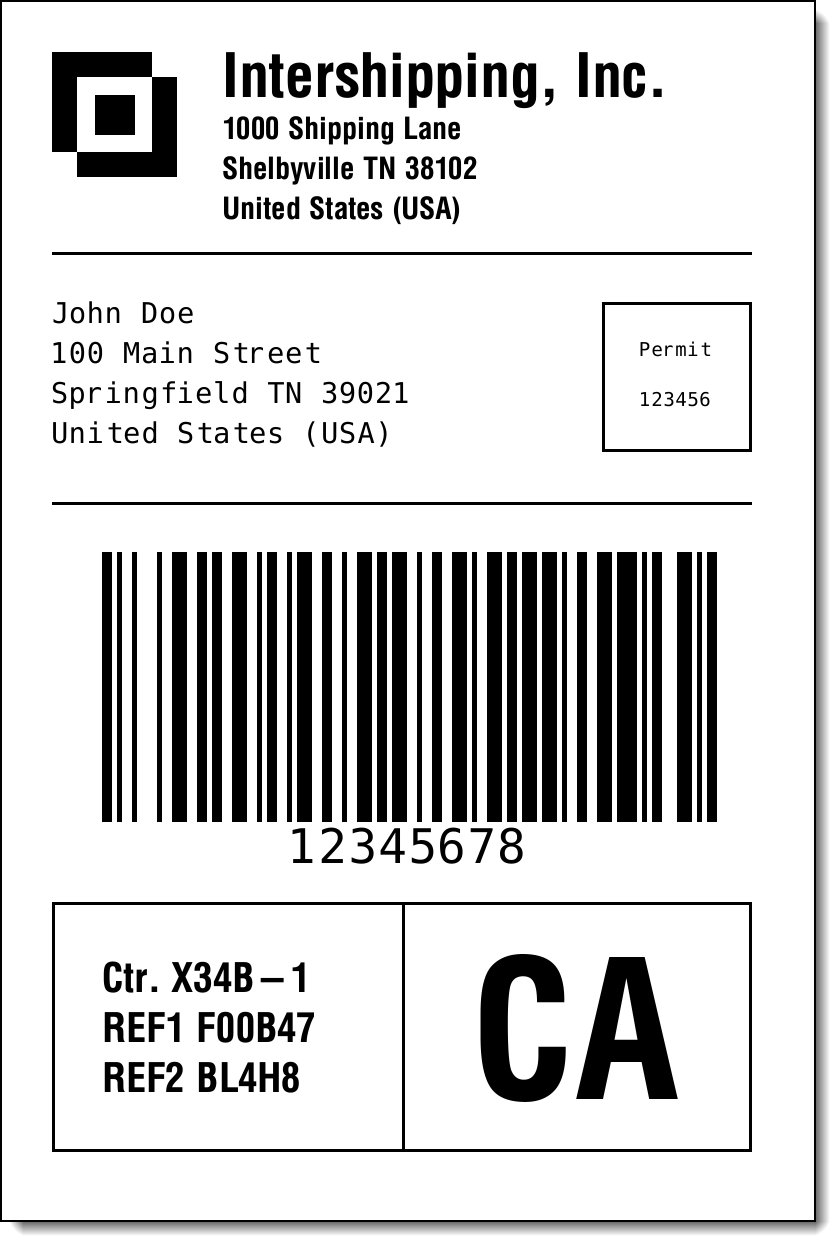
Example of a Pass through label