Step 1
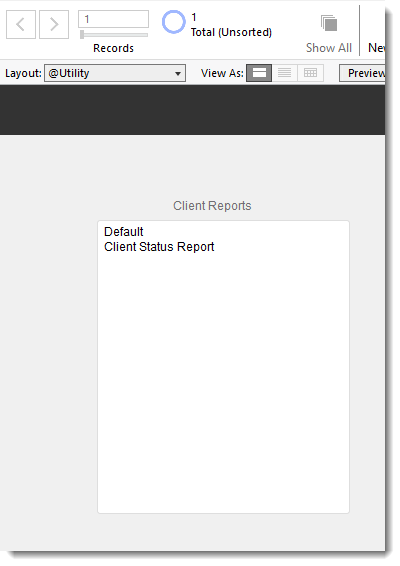
From the System Preferences layout, click on the Edit Custom Layouts button

The layout shown below will show you the reports you have created. When you first use the system only the Default report will appear.
Step 2
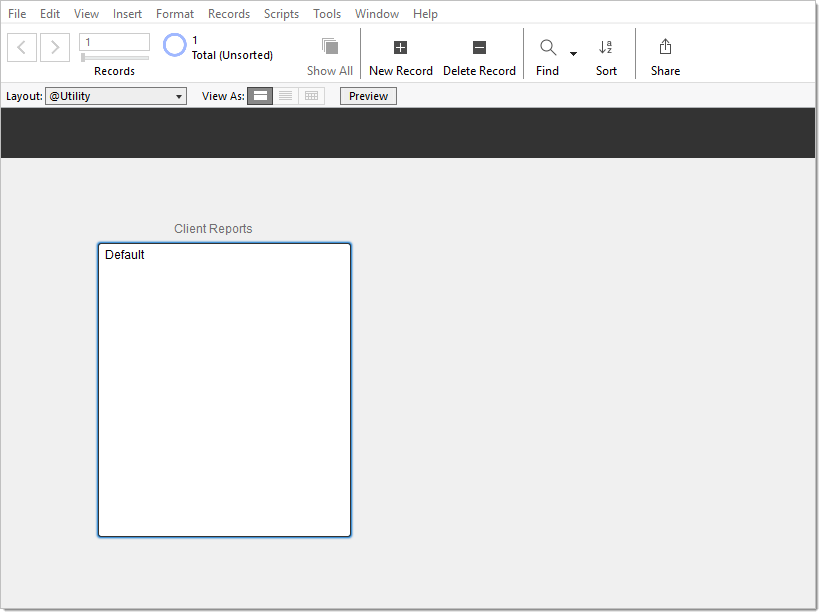
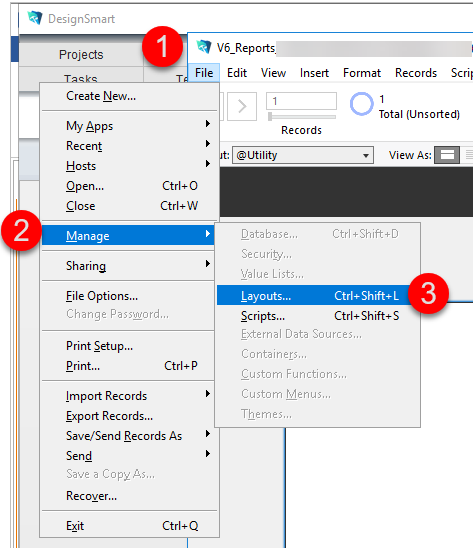
On the menu bar click on File > Manage > Layouts
Step 3
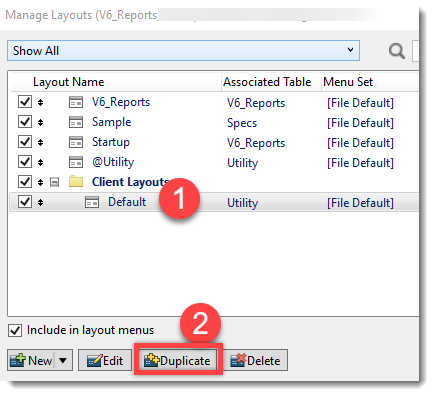
In the Manage Layouts window shown below do the following.
1. Click on the row that says Default
2. Click the Duplicate button
|
Step 4
1. Click on the row that has the Layout Name Default Copy
2. Click the Edit button

Step 5
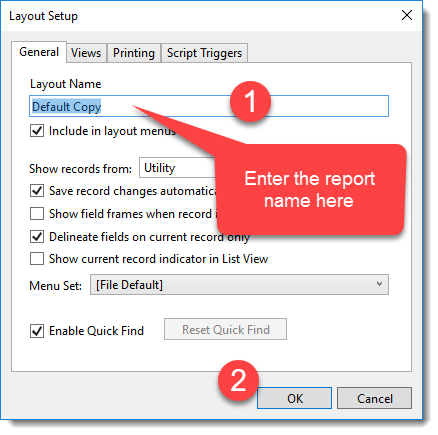
1. In the Layout Name field replace Default Copy with the name of the new report. For this example, the report name will be Cient Status Report
2. Click OK
Step 6
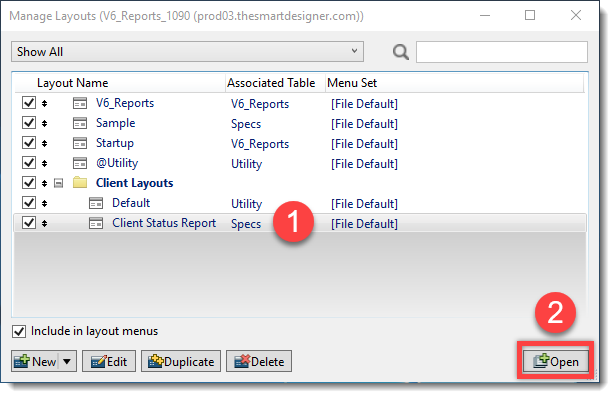
1. Click on the report you just renamed
2. Click Open
Step 7
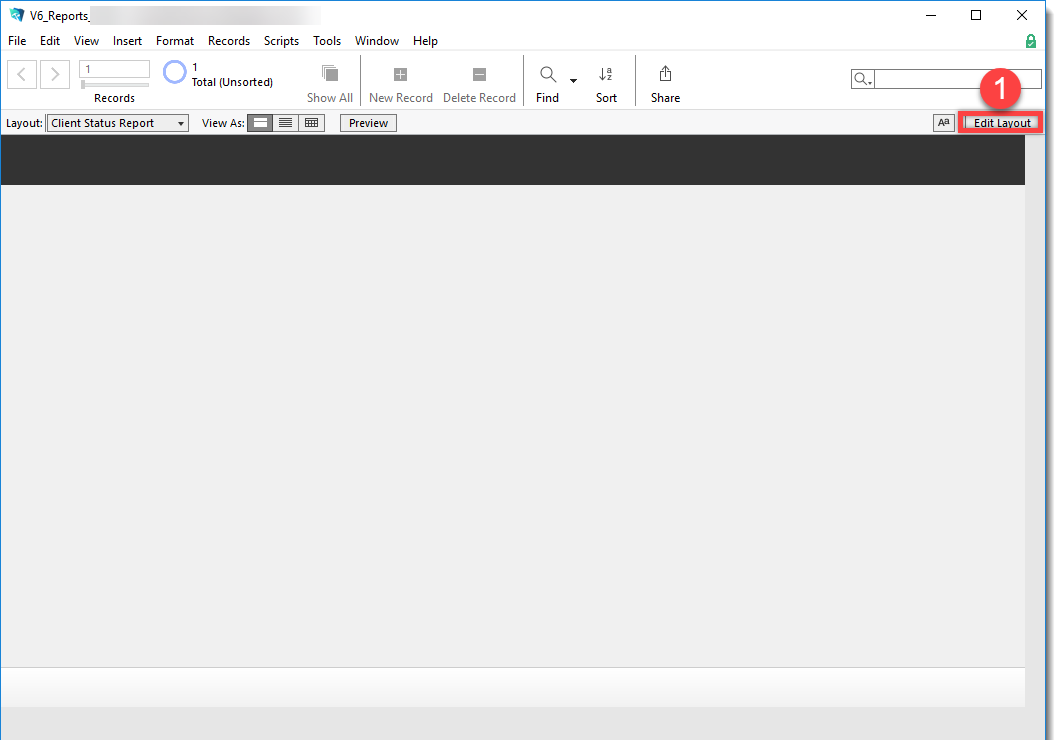
1. Click on the Edit Layout button to edit the layout
As noted in the initial page of this section, the process of editing a layout/report in FileMaker is beyond the scope of this user guide. However, there are abundant resources online if you search for "FileMaker Reports". Persons who have worked with other types of software programs and are familiar the terms: Group/Ungroup, Align, Send to Back/Front will be able to create impressive reports in a reasonable amount of time.
|
Step 8
When the report is ready to preview or release for use, you must add the report name in the box below.
The report name you enter must match exactly the name of the layout you entered in Step 5.
Continue to Adding A Report Script.
