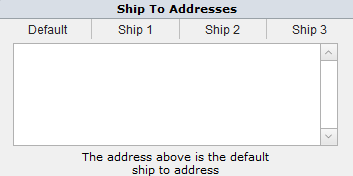
When you create a new project, the Ship To Addresses field will be blank as shown.
The first ship to address you need to define is the Default address. This address will appear in the Ship To Address for any items in this project you create after you set up this address.
To set up the Default address:
Step 1 Click on the Default button
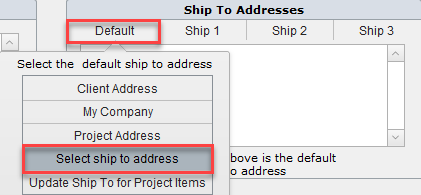
Step 2 Click on the appropriate button: Client Address or My Company or Select ship to address
In this example we'll want to select a warehouse so we'll chose Select ship to address
Step 3 In the Select the Ship To pop up window, you can use the filter bar to locate your address.

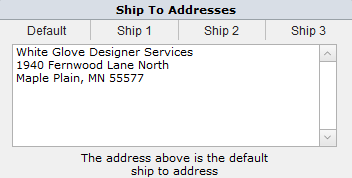
The White Glove Designer Services warehouse has now been set as the default ship to address for this project.
Setting Ship 1 Address
Step 1 Click on the Ship 1 button. In this example we will set My Company as the next predefined address so click on My Company.
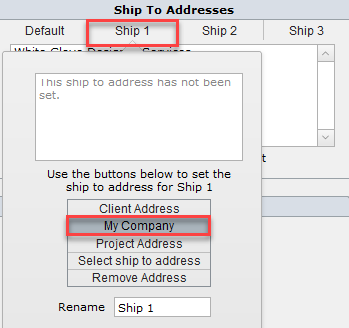
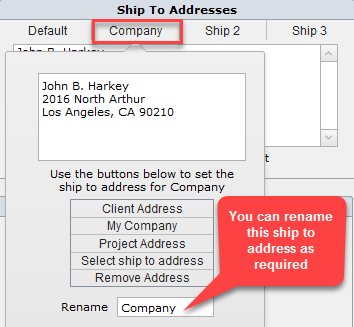
To Ship 2 and Ship 3, repeat the step you did for Ship 1.
Important Note
|